


- Team Focus | Hugo Mellouli, Head of Sales, Europe
- Introducing SANIBOX®: Enhancing our sustainable clinical waste containment solutions
- Reducing Glove Usage – A New Collaborative Solution
- Manufacturing milestones, sustainability success, and new beginnings
- Across the borders: How NHS Scotland is taking the lead in the race to net zero
Posted on by
How to Correctly Assemble a SHARPSGUARD® Container [Video]
Original published on 8-May-2013. Updated 25-April-2023.
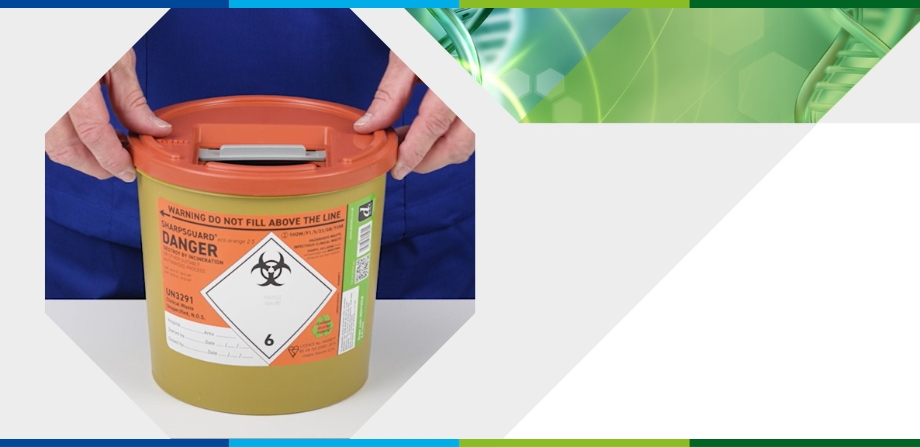
It is important to make sure that your sharps container is put together correctly to ensure the integrity of the container and the safety of the healthcare professionals and patients. In this short video we demonstrate how to put a SHARPSGUARD® sharps container together in five short steps:
This video shows a small container should be assembled:
The steps of assembly are:
- Make sure that you match the lid colour to the colour of the label on the container.
- Position the aperture at the front of the container. This ensures the person disposing of the sharp can see it is safe to do so, and that the label stays front facing when fixing to a bracket.
- Place the container on a flat surface, at a level that is a bit below you, so that you can use your body weight if needed and press the lid down all the way around. You will hear clicking sounds as it goes into place.
- Engage the temporary closure.
- Complete the label with the details of where the container is situated, the date the container was assembled and who assembled it, then your container is ready for use.
If you have a large SHARPSGUARD® container, the video below covers the assembly of one of these:
If you have any questions relating to your SHARPSGUARD® container or if you’d like more information on how to correctly assemble it, please give our Customer Support team a call on 01865 371 841 or contact your area manager.